SCROLL DOWN FOR ENGLISH POST.
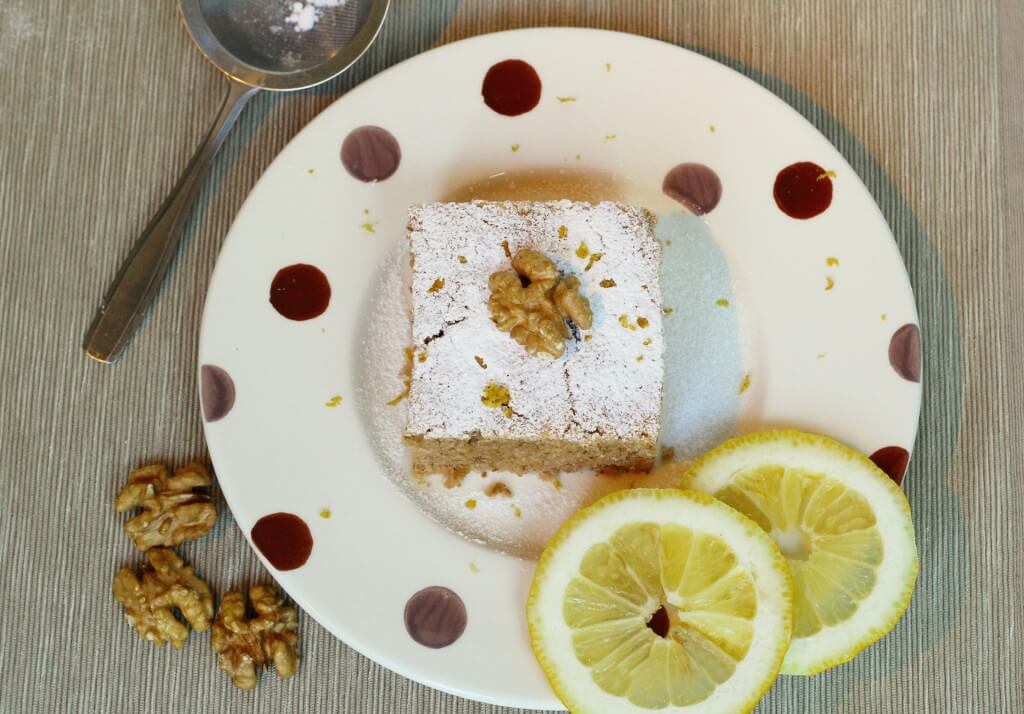
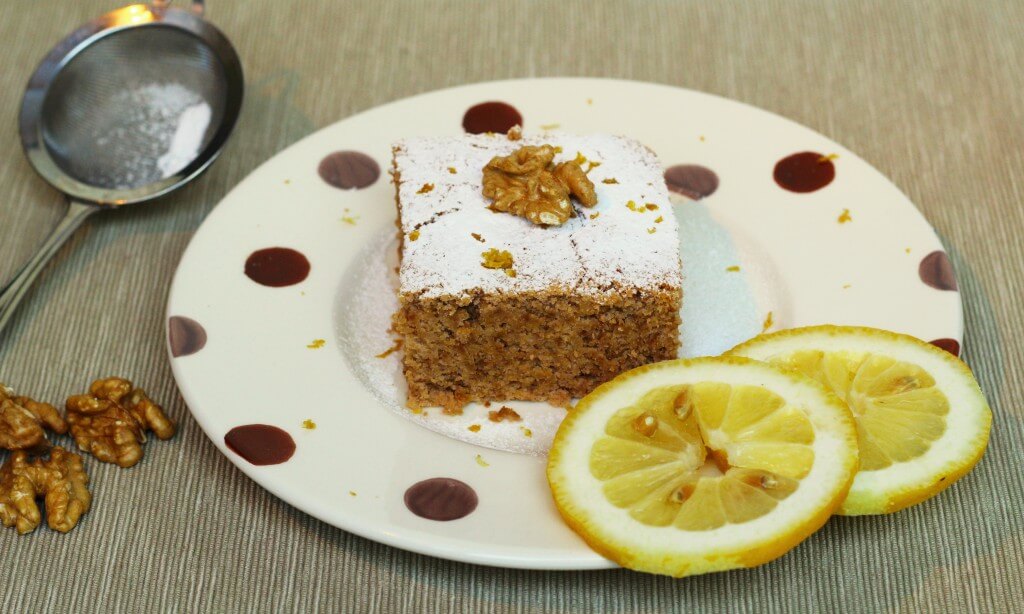
Ricetta in archivio da molto tempo, così tanto che le foto sono decisamente sottotono.
Il che è un bene perché significa che anche al mio occhio un po’ sono migliorata.
Presto parteciperò a due giorni intensi di corso fotografico tenuto dalla bravissima Monique di Miel & Ricotta, non vedo l’ora perchè spero di fare un ulteriore salto di qualità e offrire sempre di più a voi che leggete; la fotografia per me è diventata, da scomoda necessità collaterale al blog, un divertimento: se mi capita di non scattare per un po’ ne soffro, se non riesco a mettere in pratica il set che ho nella mente mi arrabbio anche un po’ ma mi rendo conto che la strada è lunga.
Percorrerla non mi pesa più come all’inizio però e questa è una cosa bella.
Veniamo alla ricetta senza altri indugi, questa tortina è sorprendentemente facile e buona, morbida, umida.
Trovata su una rivista inglese (non ricordo quale con esattezza, forse Delicious) e rivisitata perché in origine era coperta da una generosa dose di sciroppo al limone ma se c’è una cosa che detesto è lo sciroppo zuccherino, ho quindi ripiegato su una spolverata di zucchero a velo.
La trovo ideale per la colazione o come merenda accompagnata da un buon tè.
Difficile davvero dire che dentro ci sono dei fagioli, l’ho fatta assaggiare a diverse persone e nessuno è riuscito a indovinare. 🙂


- 350 gr cannellini secchi ( 600 gr già lessati)
- 75 gr farina mais fioretto
- 4 uova
- 175 gr zucchero
- 85 gr noci
- 1 limone non trattato
- olio o burro per ungere la teglia
- zucchero a velo per decorare
- Ungete la teglia. Frullate fagioli e farina di mais in un robot da cucina.
- Battete i rossi con lo zucchero fino ad avere un composto spumoso e aggiungete l'impasto di fagioli e la scorza del limone.
- Tritate finemente le noci e aggiungetele all'impasto.
- Battete gli albumi a neve e incorporateli delicatamente al resto.
- Versate tutto nella teglia e infornate a forno caldo a 180°C per 30-40 minuti.
- Lasciate raffreddare e cospargete di zucchero a velo.

I had this recipe in my archive for months; so long I can spot the difference between the photos of this cake and my latest ones.
This is a good sign, this means I slowly improve.
Soon I will attend a two days course about food photography arranged by Monique from Miel & Ricotta, I’m looking forward to it because I really want to go a little bit further with my photo skills to give you all better images to see.
Photography, for me, has been something I had to do because of blog but now I start having fun with it: I suffer if I cannot take pictures for too long, I get a little bit angry if the set I have in my mind doesn’t come out how I imagine it.
I know the road is long but now I’m happy to walk down it and it’s really positive for me.
Let’s speak about the cake: I found it on a British magazine, I don’t remember which one, maybe Delicious; the cake was soaked in lemony sugar syrup but I really can’t stand sticky sugar syrups so I’ve just added a sprinkle of icing sugar.
It’s good for breakfast or as an afternoon treat with a nice cup of tea.
It’s really hard to say it’s made with beans, I gave it to many friends and nobody guessed the secret ingredient. 🙂


- 13 oz dry white beans or 21 oz. canned ones
- 2.6 oz fine cornmeal
- 6.2 oz caster sugar
- 3 oz walnuts
- 4 eggs
- 1 lemon
- butter/ oil to grease the pan
- icing sugar
- Grease the pan then blend beans and corn meal.
- Beat yolks and sugar till fluffy then add the bean mixture and the lemon zest grated.
- Ground the walnuts and add them to the mixture.
- Whisk egg whites untill stiff and add them to the dough.
- Pour the cake into the pan and bake at 360°F for 30-40 minutes
- Let it cool and sprinkle with icing sugar


No Comments